

Introduction
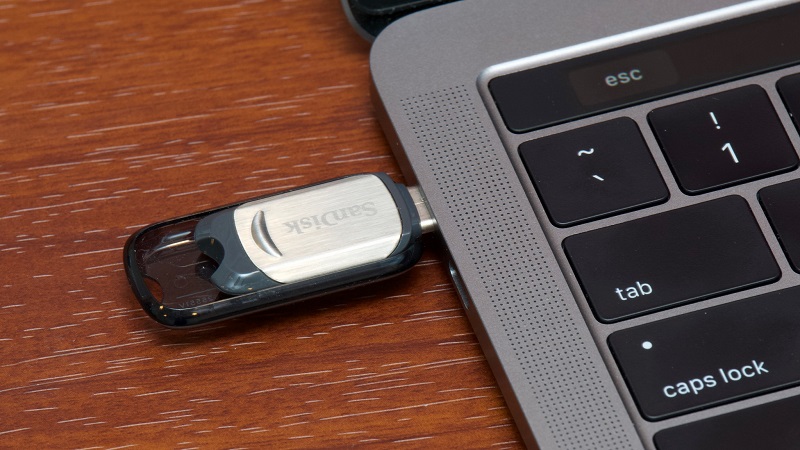
When you are attempting to install an operating system on your computer that doesn’t have a CD/DVD reader, you can make use of a USB drive to do it. You can make a USB bootable both on a Windows or Mac computer by using free programs like Command Prompt or Terminal. Handy explains how to use a USB as a bootable drive below:
The Steps
- Using Command Prompt on Windows- The USB flash drive should be at least 8 gigabytes in space. Click the Windows logo to start and then type in ‘Command Prompt’ after which it will search the computer for the program. Right click on Command Prompt to open a drop-down menu. In the drop-down menu, click Run as administrator.
When prompted, click Yes to confirm your decision and enter the “partition” command. Bring up a list of connected drives and then look for your USB flash drive. Erase the flash drive contents and create a new partition on the flash drive. Format the flash drive and close the Command Prompt. Your USB drive is now bootable.
- Using Terminal on Mac- If you want to create a bootable USB drive on a Mac, you will need to have an ISO file ready to drag and drop into Terminal. Open Spotlight wherein a search bar will appear. Type in “Terminal” to search for the application. Double click Terminal to open a list of connected drives. Find your USB drive and enter the formatting command. Drag the ISO file into the Terminal window to copy the file’s address into the Terminal command. Enter the rest of the command and then type in your password. The Mac will begin to create a bootable USB flash drive.
- Using the Windows 10 Installation tool- Open the Windows 10 installation page and insert a flash drive into your computer which should be at least 8 gigabytes in size. Click Download tool which will prompt the installation tool’s set up file to download onto your computer. Double click the downloaded installation tool file and click Yes when prompted. Check the “create installation media” box and then click Next. Check the “USB flash drive” box and select a drive. The tool will begin formatting your flash drive for the Windows 10 installation. The existing files of the flash drive would be erased making it bootable.
- Using the Windows 7 installation tool- Plug a USB flash drive into your computer that must have at least 4 gigabytes of free space on it. Then obtain a Windows 7 ISO file. Open the Windows USB/DVD download tool page which contains a tool that allows you to make your USB bootable. Click Download and select a language. Install the Windows 7 USB/DVD download tool program and follow the on-screen instructions. Open the program and select your Windows 7 ISO file. Select your USB flash drive and click Begin copying. This will prompt the tool to make the USB drive bootable.
Conclusion
Handy feels that depending on the tool you use, you can easily make your USB drive bootable. All you need is to follow the instructions carefully. You can watch a YouTube tutorial to grasp the process in more detail.